Whole Wheat Seed Bread
by Dionne Baldwin
Whole Wheat Seed Bread
I love to make bread. I’m not using that word lightly, I mean I really love to make bread. There is no specific guarantee with bread and you never know what sort of curveball is going to be ahead in a seemingly simple process. I wish someone had shared this recipe with me when I tried my first loaf. 🙂
Simple perfection & ideal for beginner bread baking.
The more I bake the more I know the feel of the dough and I have a clearer vision of what the end product will be. I have learned what not to do all in one era and I am proud to emerge more aware and more knowledgable than I was 10 years ago when I started my bread making adventures.

With my workload, it’s a miracle that I even remember that I used to love baking bread. I haven’t had much spare time and working dough has been the last thing on my mind, but when I saw Lora’s post about the Twelve Loaves January challenge, it really got my mind going.
My inner baker said, “Hey! Remember you used to bake every day! Maybe you should give this a try?”
I replied, “No way. I don’t have time and those challenges scare me. What if I miss one of the criteria and screw it up?!”
My inner baker gave me a disappointed look. “Coward.”
“Am not!” I said. And then I realized I was talking to myself…

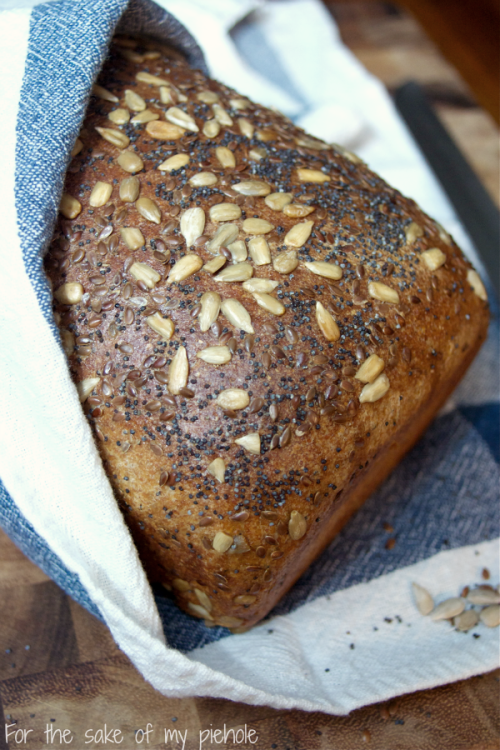
soft and rich whole wheat seed bread
I couldn’t get the challenge out of my head. Submitting Artisan Bread was out of the question because that’s pretty much all I’ve really raved about! And I’m sure you all are tired of seeing photo after photo of the same kind of bread.
I have been needing (or kneading) a really good whole wheat bread recipe. White flour is no bueno for our bodies and the whole wheat bread that we can buy in the store has ingredients that aren’t worth taking the time to research.
Every whole wheat recipe I have tried tastes doughy, lacking flavor and very unpleasant. The very example of why people cringe at the thought of a whole wheat bread.
I’m sure you know where this is going. Yes, I was able to come up with an extremely good whole wheat bread recipe.
My dad and I have a bread that we like that has all kinds of seeds in it and we love the taste, but it’s with white flour. That is what inspired this recipe adaptation and I was very impressed with the result. In the first try the flavor was spot on and absolutely brilliant!
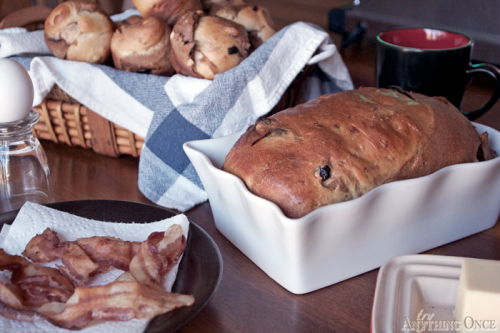
The crust was soft and moist, not your typical whole wheat characteristic is it? The seeds rolled onto the outside of the bread give you a warning of the inside texture and you just can’t wait to try a slice, can you?
Although this adaptation turned out right on the first try (that never happens) I tried it multiple times before sharing this with you so I could be sure to give you a good recipe. This is my go to sandwich bread recipe and it can easily be made vegan, which will be my regular version.
The theme for the Twelve Loaves this month is: Clean Slate. Oddly whole wheat came to mind for digestive reasons but anywho…
Starting the year with simplicity to follow the holiday season is the intent and this easy to make bread looks beautiful, but it’s simplicity and goodness should be celebrated with a hot cup of coffee (or tea) and shared with your favorite person in this world. Thanks to Google Plus you can actually do this with someone even if they are in a different part of the world. 😀
Whole Wheat Seed Bread Recipe
adapted by Dionne Baldwin from the King Arthur Flour Whole Wheat Bread Recipe
1 cup lukewarm milk
2 1/2 tsp. active dry yeast
1/4 cup vegetable oil
1/4 cup honey
1/4 cup molasses
1/2 packet of instant coffee powder
1 1/4 tsp. salt, recommend Alaea Hawaiian sea salt
3 1/2 cups 100% whole wheat flour, I recommend King Arthur and no I was not paid to say that.
3 tbsp. sunflower seeds, plus extra for rolling on the outside
2 tbsp. flax seeds, plus extra for rolling on the outside
1 tbsp. poppy seeds, plus extra for rolling on the outside
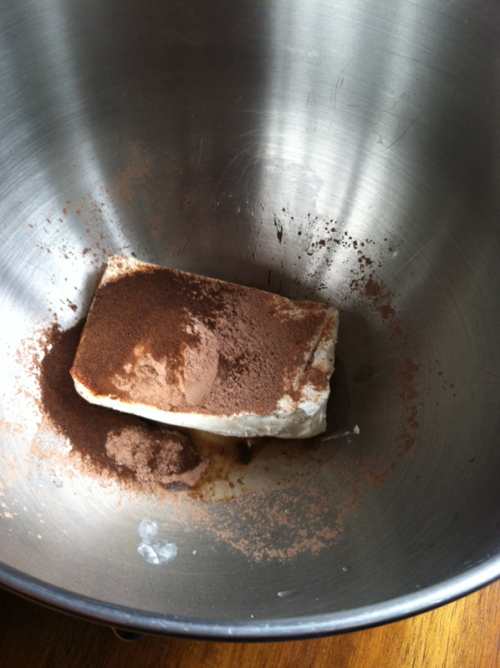
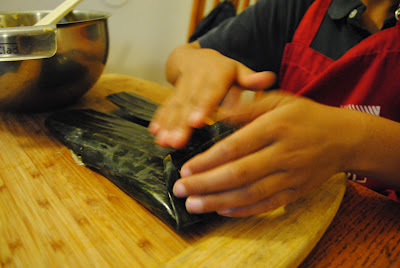
In a large mixing bowl, add milk and yeast mixing briefly and let it sit for about 5 minutes. Then add salt, oil, honey, molasses, and coffee powder. Stir briefly to begin combining then add flour and seeds. Remember to save extra seeds for rolling the outside of the dough. 🙂 You can add different seeds and increase the amount depending on the texture you like.
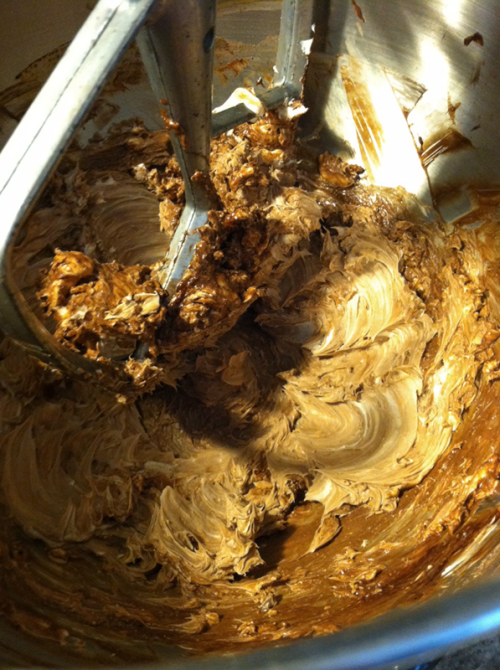
Mix until combined and then knead for 10-15 minutes or until dough is smooth. Dough will be cohesive and slightly wet, but will hold together and easily form a ball when it is ready. It will likely not stick to your hands, if it does add a small amount of flour. Then form dough into one large ball.
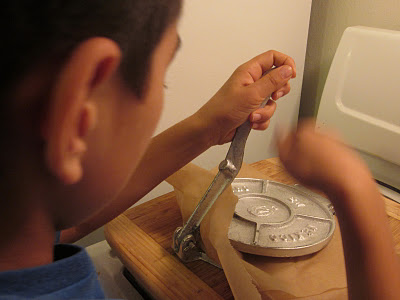
You can knead this dough by hand, by mixer with a dough attachment or in your bread machine!
Then lightly oil a bowl and rub top of the dough, then place oiled side up and let it rise at least 2 hours. It will not double in size, but it will rise a noticable amount.
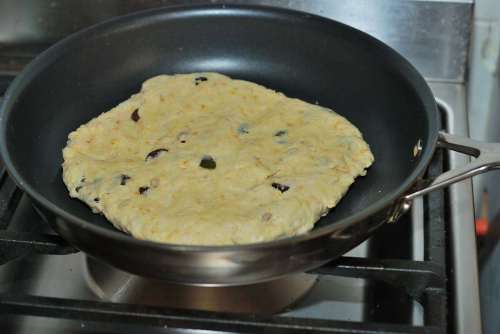
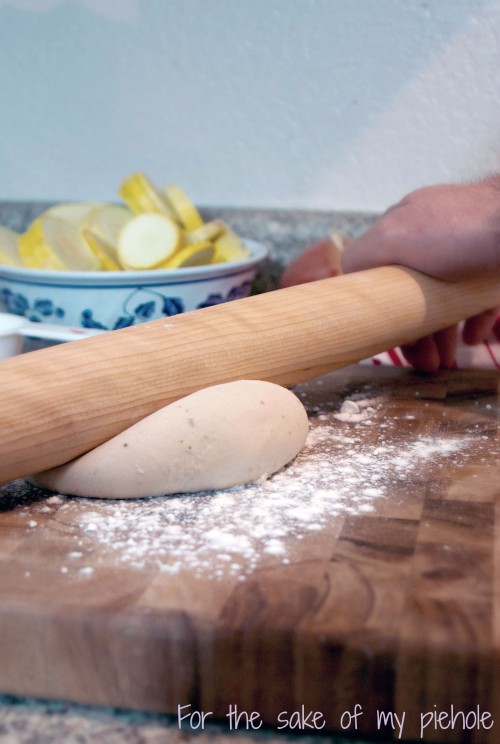
When you are ready, grease your bread pan with butter or oil and set aside. Take out dough ball and on a clean surface sprinkle your seeds. Form your ball into itself making a longer shape and then roll the dough in the seeds, pressing slightly to press the seeds into the outside of the dough. This will also allow you to form your dough into a longer shape to fit a similar shape to your bread pan. Repeat rolling process until you are satisfied with the amount of seeds that are stuck onto your bread.
Place in pan and let it sit for an hour or two until it has risen a significant amount. it will not double in size.
Preheat your oven to 350 degrees F and bake for 35 minutes or until you tap the end of the loaf and it sounds hollow and the top is nice and dark and golden brown. If the bread is not ready, leave it in for about another 5 minutes. You can temp your bread by thermometer and according to the recipe that inspired this loaf, a finished loaf will be at 190 degrees F when baked through.
When your bread is finished, immediately brush milk or melted butter atop the crust to keep it soft and even more delicious. Remove bread from the pan and allow to cool on a baking rack. Try to resist the urge to bite into it and allow it to cool fully before cutting and eating.
Enjoy!
I am very pleased with the results of this bread and I hope you enjoyed it too! Perhaps you will join this month for the January 2013 Twelve Loaves Challenge? You still have time!
What is your favorite kind of bread?